

Contractor resources to organize, grow & profit
Our mission is to help you organize and grow your company! Join thousands of contractors on their journey to organize, grow, and profit more from their business.
Get insider tips and best practices about the roofing, fencing, concrete, restoration, siding, excavation, painting, pool, and deck industries.
Streamline Your Roofing Business: Practical Tips to Reduce Stress and Boost Profitability
Running a roofing business often leads to daily chaos, administrative bottlenecks, and missed revenue. This guide offers practical, proven strategies for roofing contractors to reduce stress and boost their bottom line. Learn how to centralize your operations, build reliable standard operating procedures, respond to leads faster, and leverage automation. Discover how putting the right systems and all-in-one tools in place before scaling can transform your company from a stressful job into a profitable, smooth-running business.

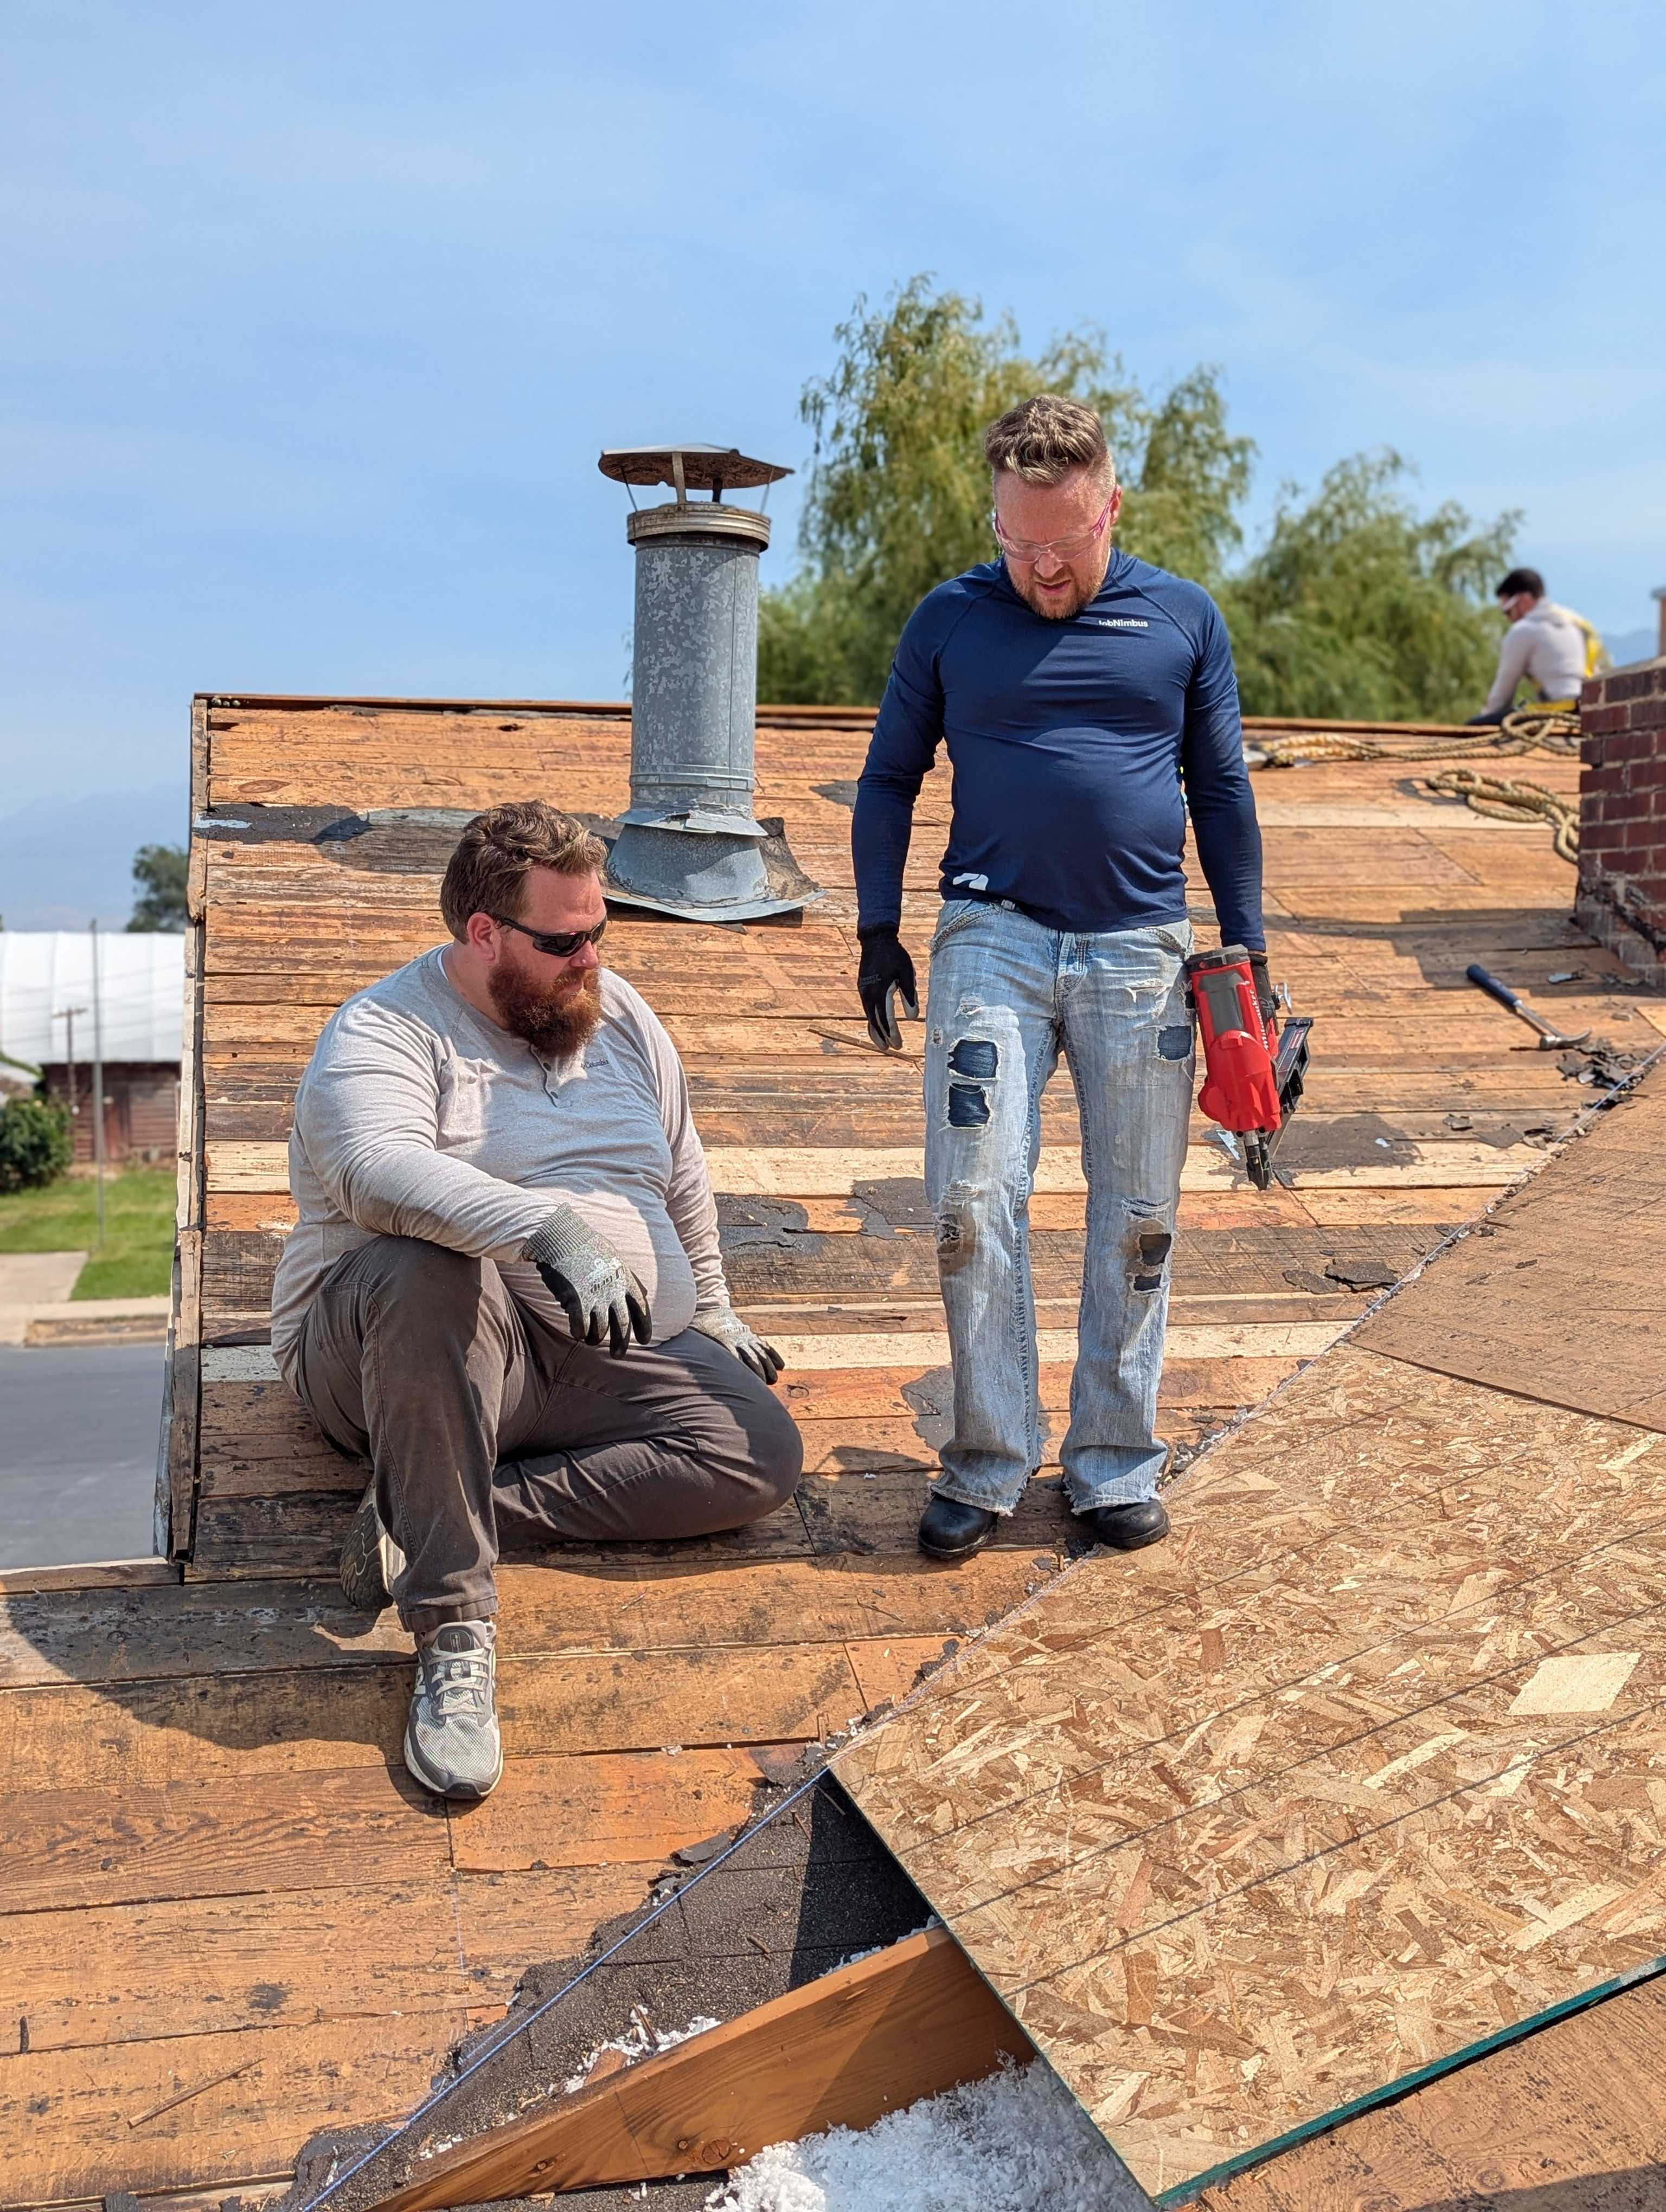
How JobNimbus & Habitat for Humanity Helped One Family Keep Their Home
An insurance company said fix the roof or lose coverage. A Habitat for Humanity team, backed by JobNimbus volunteers, made sure Margie didn't have to face it alone.
How to Become a BBB-Accredited Roofing Contractor
Boost customer trust and sales by becoming a BBB roofing contractor. Learn how to get BBB accredited and stand out in the roofing industry.

The Secret to Winning Proposals: Customized Marketing Pages
Win more proposals with a secret weapon: customized marketing pages. Learn the benefits and how to use our free templates here.

How to Handle Supplier Price Increases
No one is immune to price increases, not even our suppliers. Here’s how contractors can handle unexpected supplier price increases.

The Essential Guide to Roofing Cement
Roofing cement can be a valuable tool for quick roof fixes. Here’s what you need to know about roofing cement as a roofing professional.

How to Recover from Making Mistakes at Work as a Contractor
Work failures happen to everyone, no matter what industry. Learn how contractors can respond to work mistakes and improve because of them.
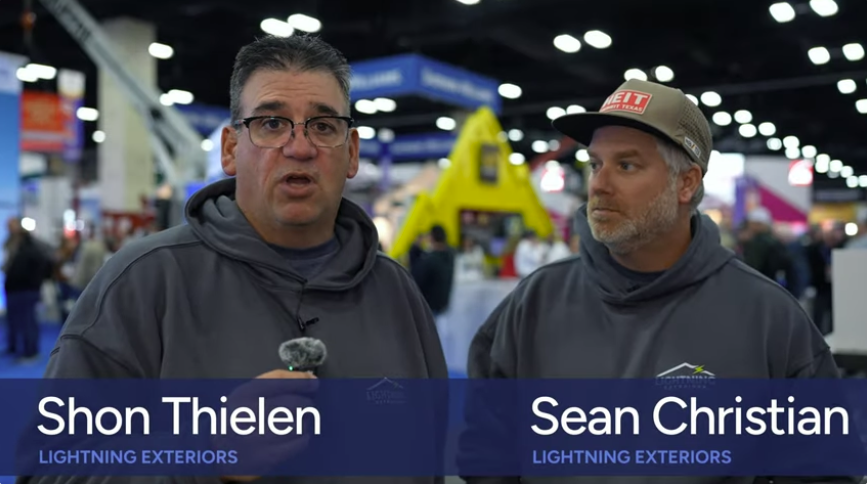
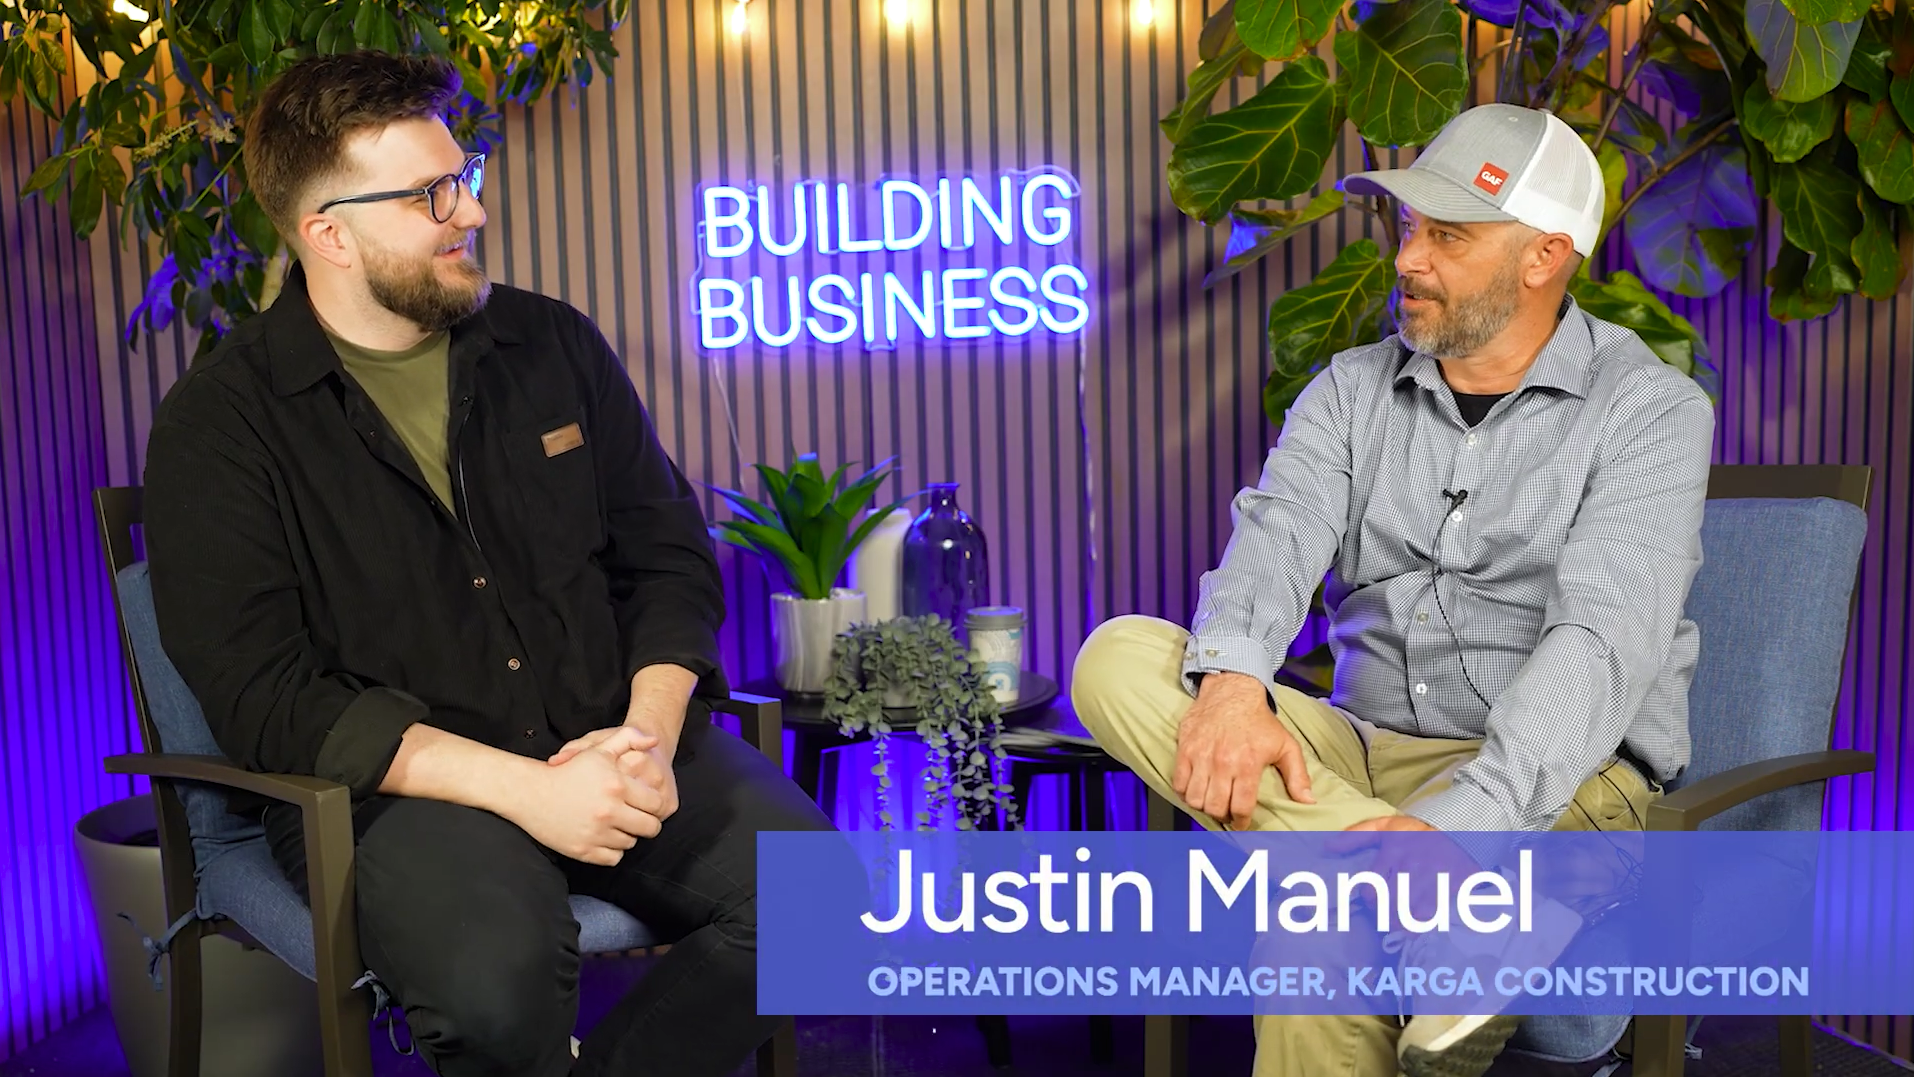
How Lightning Exteriors Went From Four Systems to One
Lightning Exteriors was juggling four disconnected platforms just to support a single customer. See how JobNimbus gave their team real-time visibility, hands-on support, and the clarity to run a tighter business.

The Contractor’s Guide to Work-Life Balance
Working too much can lead to burnout. Here are some tips to achieve a healthy work-life balance as a contractor.

Unlocking Team Potential: The Triple-Win Strategy for Roofing Businesses
Your top people aren't leaving for more money. They're leaving because something broke. Here's the Triple-Win framework that fixes it.

Unlocking Profit: How Roofing Companies Can Avoid the $10M Trap
Hitting $10M in revenue but still not breaking even? Here's why — and what it takes to actually make money at scale.

Unlocking Revenue: The Power of 5-Star Reviews for Roofing Contractors
Your star rating is a revenue strategy. Learn how top roofers turn reviews into more jobs, higher tickets, and faster closes.
Win more bids. Close more jobs. Start with our newsletter.
Get exclusive insights, tips, and trends your competition doesn't want you to know.

Suit up—it's
hero time.
Experience the power of JobNimbus and revolutionize the way you measure roofing projects. Say goodbye to manual processes, reduce errors, and improve your efficiency.
Start your free trial today and discover why thousands of roofing contractors trust JobNimbus to streamline their operations and boost their bottom line.